The supplies needed:
- Scissors
- T-Shirt
2. Cut the sleeves on the t-shirt. (the openings will become the handles.)
3. Keep the shirt folded and cut out the neckline, this will allow for a bigger area to place your items in and smaller straps.

4. Unfold the shirt. Find something that represents how big you want the bag to be. Hint: there will be an inch cut of from the bottom so overcompensate a little bit.
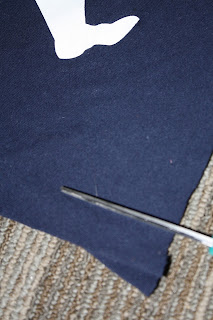
5. From the bottom of the t-shirt, cut one inch long lines along the entire bottom of the shirt. Make sure that all of the strips of fabric line up with each other. Eventually they will be tied together.
6. Turn the shirt inside out and make sure to realign all of the strips of fabric.
7. Going down the row tie each of the front and back strips together, I double-knotted them but depending on the amount of strips you have one knot could suffice.
8. I then gathered different strips from different knots and tied those together so there would be less holes in the bottom of the bag.
9. Turn the bag back out so the logos/print is on the outside and now we have a cute bag!
After really trying to use the bag I soon realized that the side slits, were way to big! If I put anything in the bag that was above 5 inches, it was going to fall out. Another aesthetic issue I began to notice is the bag looked much more rectangular than circular, of course that is personal preference. Even though this bag was cheap and only took about 20 minutes to make, I am definitely going to have to put this bag on the Bad List!


No comments:
Post a Comment